
Hostwolf Apps developers
Build on Hostwolf Apps
Everything you do in the console, you can do from code: create apps from git, a Dockerfile or an image, deploy them, read their logs, set variables, add managed databases and turn on autoscaling.
Get an API token#
- Sign in to the console and open Keys & Tokens → API tokens.
- Enter a description, pick how long the token lasts and tick its permissions.
- Click Create token and copy it. It looks like
12|aBcD…and is shown only once.
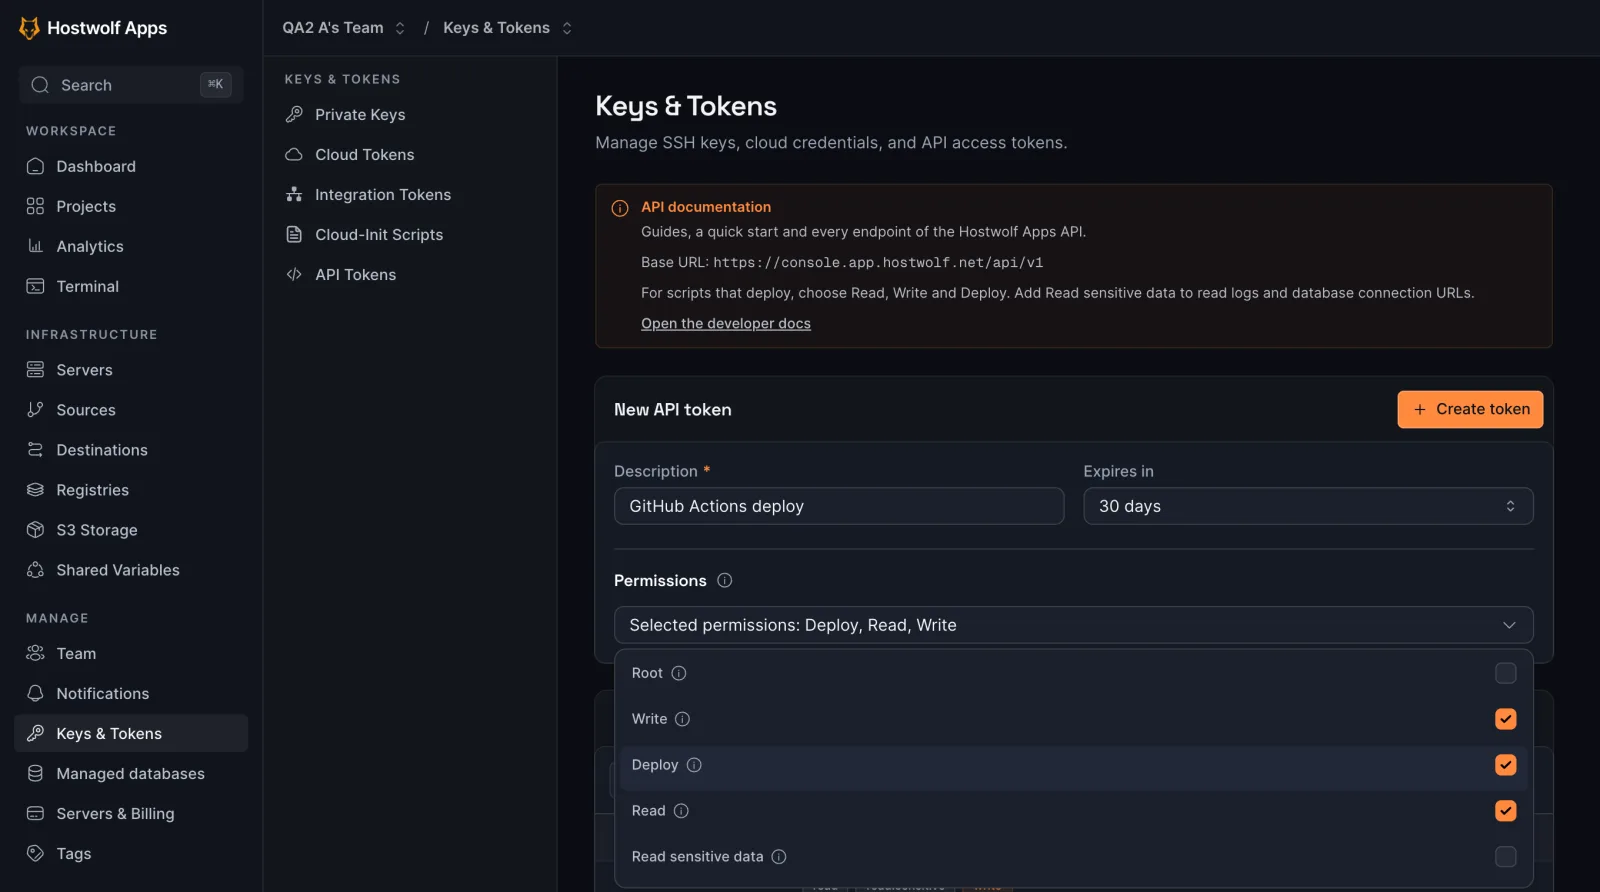
| Permission | What it allows |
|---|---|
| Read | List and read projects, apps, deployments, servers, databases and settings. Secret values are hidden. |
| Read sensitive data | Also read app logs, variable values and database connection URLs. |
| Write | Create, change and delete projects, apps, variables, volumes and databases. |
| Deploy | Deploy, start, stop and restart apps, also through deploy webhooks. |
| Root | Everything above. Avoid it for scripts and assistants. |
- A token belongs to the team you were in when you created it, and only sees that team's resources.
- Team members (not admins or owners) can only create Read tokens.
- For a script that deploys, tick Read, Write and Deploy. Add Read sensitive data only if it needs logs or secrets.
- Tokens can't buy or cancel servers. Billing stays in the console, and plans are listed on pricing.
- Use one token per script or assistant, so you can revoke one without breaking the others.
Quick start#
Send the token as Authorization: Bearer <token> to https://console.app.hostwolf.net/api/v1:
curl
# Your apps
curl https://console.app.hostwolf.net/api/v1/applications \
  -H "Authorization: Bearer $HOSTWOLF_APPS_TOKEN" \
  -H "Accept: application/json"

# Deploy one
curl -X POST https://console.app.hostwolf.net/api/v1/applications/<app-uuid>/start \
  -H "Authorization: Bearer $HOSTWOLF_APPS_TOKEN"
TypeScript
npm install https://app.hostwolf.net/dl/hostwolf-apps-sdk-0.2.1.tgzimport { HostwolfApps } from '@hostwolf/apps-sdk';
const hw = new HostwolfApps({ token: process.env.HOSTWOLF_APPS_TOKEN! });
const [app] = await hw.applications.list();
const deployment = await hw.deployAndWait(app.uuid);
console.log(deployment.status, await hw.applications.logs(app.uuid, { lines: 20 }));AI assistant (MCP)
claude mcp add --transport http hostwolf-apps https://app.hostwolf.net/mcp --header "Authorization: Bearer your_token"Then ask: "Why did the last deploy of my shop fail? Fix the start command and deploy it again." That's the hosted server at https://app.hostwolf.net/mcp, with nothing to install. See MCP setup for Claude Desktop, Cursor and VS Code, or to run it yourself.
The step-by-step quick start deploys an app from GitHub with nothing but curl.
What you can build#
Downloads#
The SDK and MCP server are served from app.hostwolf.net, not the npm registry. There's nothing to sign up for, and every release has a fixed URL:
| Package | Install |
|---|---|
| TypeScript SDK | npm install https://app.hostwolf.net/dl/hostwolf-apps-sdk-0.2.1.tgz |
| MCP server | npx -y https://app.hostwolf.net/dl/hostwolf-apps-mcp-0.2.1.tgz |
/dl/index.json lists the current versions with SHA-256 and npm integrity hashes. The OpenAPI 3.1 description of the API is at /developers/openapi.json, for code generators and API clients.